Your First Serial Studio Project: From Zero to a Live Plot
A from-zero walkthrough for Serial Studio beginners: install the app, connect a device with Quick Plot, then build your first real project file.

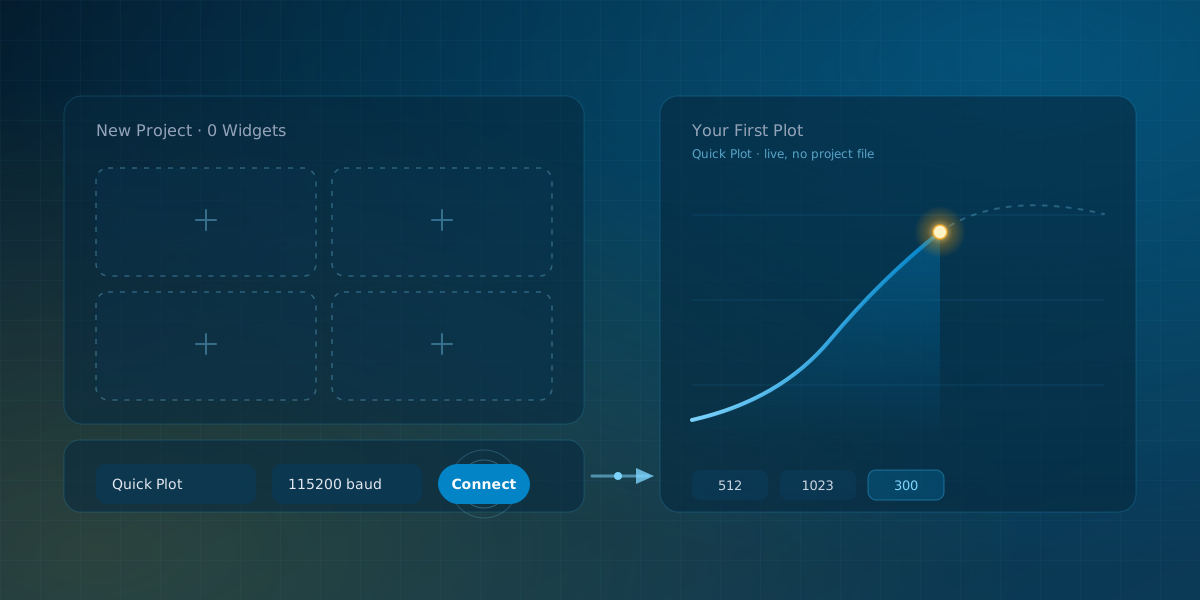
Most posts on this blog assume you already have Serial Studio open, a device wired up, and a project file loaded. This one doesn't. If you've never launched the app before, here's the actual path from a blank install to a live plot on screen, and from there to a real project you can save and reload.
What is a Serial Studio project, exactly?
A project is a .ssproj file that lives on your computer and describes your dashboard: which groups exist, what widgets they use, and how incoming data maps to each one. It's a JSON document under the hood, but that's a detail about the host side, not about your device. No, Your Device Doesn't Have to Send JSON goes deep on that distinction if you want it; the short version is that your firmware never has to know the project file exists. For this walkthrough, treat a project as an optional label-and-layout step you add once you've already seen your data working.
The part that surprises most beginners: you don't need one to get started at all.
Do you need a project file to see your first plot?
No. Serial Studio has a mode called Quick Plot that reads a stream of comma-separated numbers and draws a live plot automatically, with no project file and nothing to configure beyond a port and a baud rate. It's the fastest way from "app installed" to "data on screen," and it's exactly where a true beginner should start.
Every tutorial that opens with a finished project already loaded skips the part that actually gets you moving on day one. Quick Plot is that part.
How do you install Serial Studio?
Installation is a single download on every platform, and none of it requires an account or a license, since the app's core features are free and open source under the GPLv3.
On Windows, download the installer from the releases page and run it. Windows may warn that the installer isn't signed; click More Info, then Run Anyway. If the app refuses to launch afterward, install the Visual C++ Redistributable (64-bit) and try again.
On macOS, download the DMG from the same releases page and drag Serial Studio into Applications. A community-maintained Homebrew cask (brew install --cask serial-studio) also works if you'd rather stay in a terminal.
On Linux, the AppImage is the simplest option: make it executable with chmod +x SerialStudio-*.AppImage, then run it. You may need libfuse2 first. If your serial device doesn't show up once the app is running, add your user to the dialout group and log out and back in for it to take effect.
How do you connect your first device with Quick Plot?
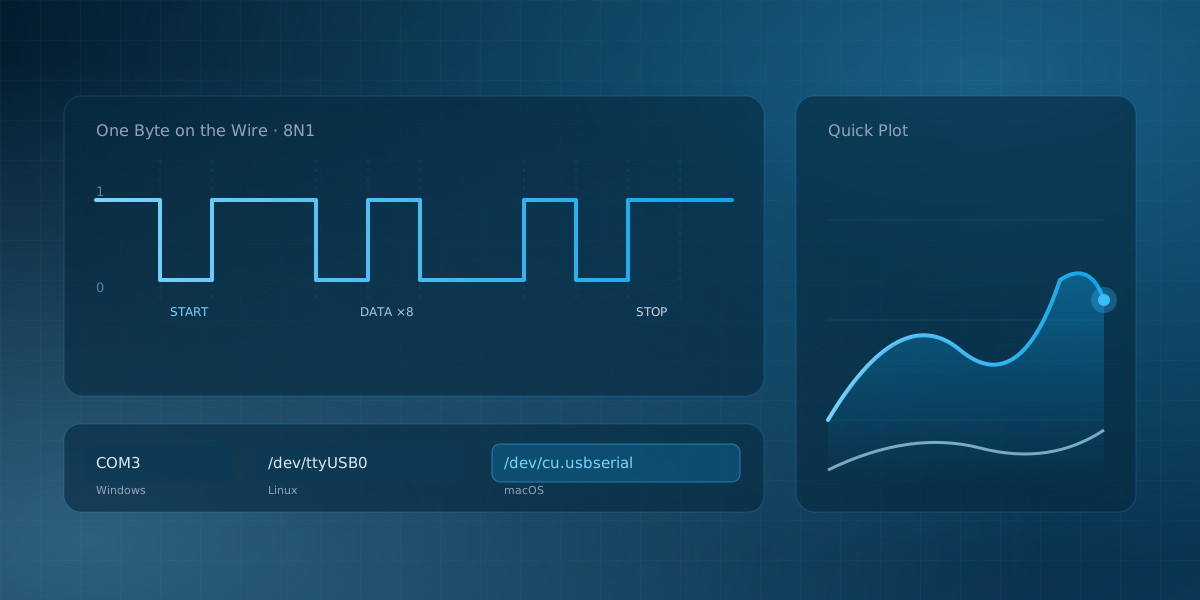
The only thing Quick Plot needs from your device is a line of comma-separated numbers ending in a newline, for example 512,1023,300\n. Nothing else. How to Read Data From a Serial Port covers what's actually happening on the wire and why the baud rate has to match on both ends, if you want the fundamentals underneath this step.
A minimal Arduino sketch that satisfies Quick Plot looks like this:
void loop() {
  Serial.print(analogRead(A0));
  Serial.print(",");
  Serial.print(analogRead(A1));
  Serial.println();
  delay(20);
}
Upload that (or adapt it to whatever your board already prints), then switch to Serial Studio:
- In the Setup panel on the right, set the operation mode to Quick Plot (Comma Separated Values).
- Set the I/O interface to UART.
- Pick your device's port:
COM3on Windows,/dev/ttyUSB0on Linux,/dev/cu.usbmodem*on macOS. - Set the baud rate to match your sketch (
115200in the example above).
Click Connect in the toolbar. The Console panel shows the raw CSV text arriving first, so you can confirm the numbers look right. A moment later, once Serial Studio has parsed a valid frame, the view switches on its own to the Dashboard: a Data Grid with your current values, and a MultiPlot with one line per field. No project file, no JSON, no widget picking. Just connect and watch it plot.
When should you move on to a real project?
Quick Plot proves your data works, but it can't name your fields, pick a widget per sensor, or save a layout you can reopen tomorrow. That's what a project file is for, and it's the recommended setup for anything past a first look.
The jump feels bigger than it is, mostly because the project editor isn't where you debug a connection anymore. Quick Plot already did that job. The editor is just where you decide what the dashboard should look like once you know the data is good.
Opening the Project Editor
Click the Project Editor button in the toolbar. It opens a separate window. Click New, give the project a title (something like "My Sensor Dashboard" is fine), and choose a frame-detection method that matches how your device frames its data. For line-based CSV like the sketch above, an end delimiter of newline is the right choice.
Adding groups and datasets
Click Add Group in the tree view on the left, name it something meaningful ("Analog Sensors," say), and pick a widget type: Data Grid and Multiple Plot are the two you'll reach for most as a beginner. Inside the group, click Add Dataset for each field your device sends. For each one, set its title, its frame index (which CSV field it maps to, counting from 1), and its units.
Saving and connecting
Save the project as a .ssproj file. Back in the main window, set the operation mode to Parse via Project File and load the file you just saved through the file selector in the Setup panel. Configure your I/O interface the same way you did for Quick Plot, then click Connect. Serial Studio now parses incoming frames through your project file and draws exactly the widgets you configured, labeled the way you named them.
What if the console shows data but no dashboard shows up?
This almost always means the data doesn't match what the current mode expects to parse. In Quick Plot mode, check that your device is sending comma-separated numeric values terminated by a newline; any stray text besides numbers, commas, and whitespace blocks parsing. In Project File mode, check that your frame delimiters actually match what the device sends.
If you're not sure what your device is really outputting, switch to Console Only mode first. It skips parsing entirely and just shows you the raw bytes, which is the fastest way to tell a parsing problem from a wiring or baud rate problem.
Frequently asked questions
Do I need a project file to see my first plot?
No. Quick Plot mode reads comma-separated numbers straight off a serial port and draws a live plot with no project file and no configuration beyond the port and baud rate. A project file only becomes useful once you want named datasets, specific widgets, or a layout you can save.
What if my device doesn't print CSV?
Quick Plot specifically expects comma-separated numbers ending in a newline. If your firmware already prints something else, a project file's frame parser can read other formats too, including binary packets and established protocols; No, Your Device Doesn't Have to Send JSON walks through the options.
Why does my board reset the moment I connect?
On boards like an Uno or Nano, opening the serial port toggles the DTR line, and the bootloader reads that as a reset signal. That's expected, not a fault. If it's a problem for your project, you can disable DTR in the port settings.
Can Serial Studio read anything besides a serial port?
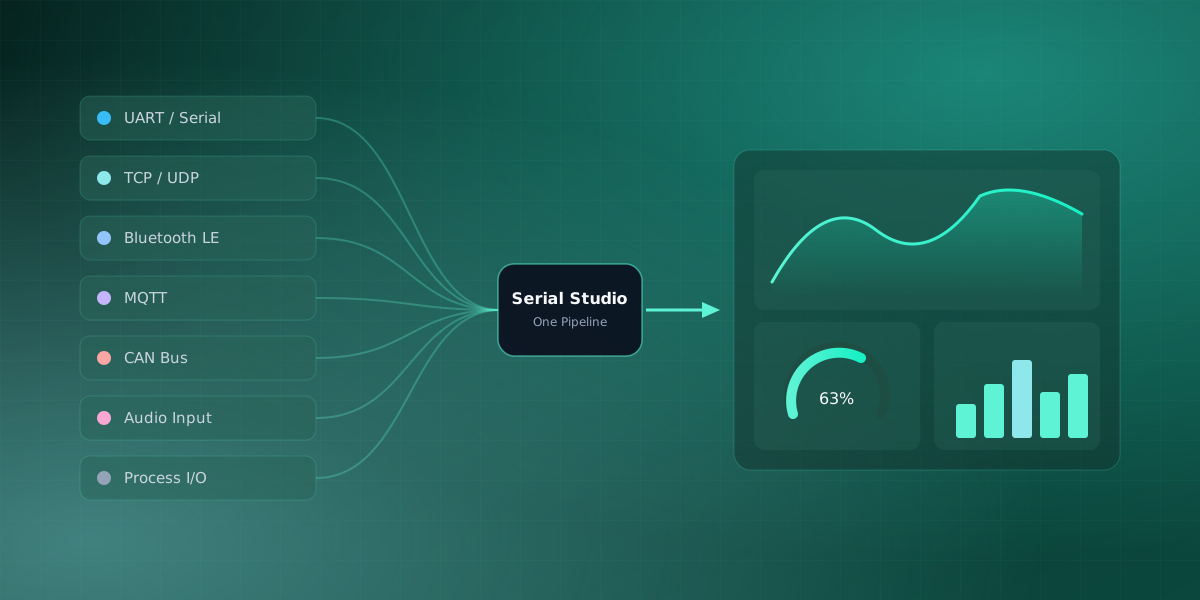
Yes. The free edition also reads TCP/UDP sockets and Bluetooth LE, and the same Quick Plot and Project File workflow applies no matter which one is feeding the dashboard. Serial Studio Isn't Just for Serial Ports covers the full list, including the Pro-only drivers.
Where to go from here
That's the whole on-ramp: install, connect with Quick Plot, confirm your data looks right, then graduate to a project file once you know what you want the dashboard to look like. Everything else on this blog assumes you've already done these steps once.
From here, How to Read Data From a Serial Port is the right next stop if your connection is misbehaving or you want to understand baud rate and framing properly. Serial Studio Isn't Just for Serial Ports is the right next stop if a serial cable was never really the plan and you're feeding the dashboard from Wi-Fi, Bluetooth, or something else entirely. The full Getting Started guide covers every operation mode and installation detail in more depth than this post needed to.
Comments